Monday, June 21, 2010

Land Of The Free

This Tutorial was Written by Me in it's Entirety on June 20, 2010 ~ Any Similarity to any other Tutorial is Purely Coincidental

Supplies Needed:

Tube of Choice ~ I am using the Awesome Artwork of Elias Chatzoudis

You can Purchase a License to use his Artwork HERE

Font of Choice ~ I am using a Free Font Called "Marking Pen"

Scrap Kit of Choice ~ I am using a Patriotic PTU Kit by Me - Krissy's Scraps ~ *Independence*

You can Purchase this Kit HERE

Eye Candy 4000 ~ Gradient Glow

Thanks to Chelle aka Weescotslass for Use of her Mask. You can find Weescotslass HERE

Also Thanks to Missy for the Use of her Great Tag Template #13. You can find Missy and her Tag Templates HERE

~~~~~~~~~~~~~~~~~~~~~~~~~~~~~~~~~~~~~~~~~~

Remember to Save Often!

Let's Get Started!

Open your Tag Template ~ missy_tagtemplate13 ~ Close off (X Out) all of the Original "Named" Layers & the Copyright Layer in your Layers Palette

New Layer ~ Locate and Open KSIPaper 6 ~ Flood Fill your New Layer with the Paper Pattern ~ Scale 48

Open Mask WSL_Mask185 ~ Layers ~ New Mask Layer from Image ~ In the Drop Down Window locate WSL_Mask185 ~ Source Luminance Checked ~ Click OK ~ Merge Group

Click on your "Circle" Layer ~ Selections ~ Select All ~ Float ~ New Layer

Locate and Open KSIPaper 4 ~ Flood Fill your newly Selected layer with the Paper Pattern ~ Scale 48 ~ Selections ~ Select None ~ Apply your Drop Shadow

V - 2
H - 2
Opacity - 48
Blur 8.00

Click on your "Frame Rectangle" Layer ~ Selections ~ Select All ~ Float ~ New Layer

Locate and Open KSIPaper 5 ~ Copy ~ Paste into Selection ~ Selections ~ Select None

Click on your "Lines" Layer ~ Selections ~ Select All ~ Float ~ New Layer

Flood Fill the Selections with Colour #880004 ~ Selections ~ Select None ~ Duplicate this Layer

Click on your "Rectangle Frame" Layer ~ Selections ~ Select All ~ Float ~ New Layer

Open KSIPaper 7 ~ Flood Fill your newly Selected layer with the Paper Pattern ~ Angle 90 ~ Scale 28 ~ Selections ~ Select None ~ Apply your Drop Shadow Again

V - 2
H - 2
Opacity - 48
Blur 8.00

Locate and Open KSIBeaded String 1 ~ Copy ~ Paste ~ Resize 48% ~ Adjust ~ Position as Desired ~ Sharpness ~ Unsharp Mask with My Settings Below

Radius - 2.00
Strength - 28
Clipping 4

Erase any Excess String and Apply a Drop Shadow

Open your Tube of Choice ~ Copy ~ Paste ~ Resize 88% ~ Sharpen if Required ~ Drop Shadow as Above ~ Position using My Tag for Reference and Erase the Lower Edge of your Tube so it Appears to be Inside the Frame

Click on your "Large Stars" Layer ~ Selections ~ Select All ~ Float ~ New Layer

Open KSIPaper 6 ~ Flood Fill your newly Selected layer with the Paper Pattern ~ Scale 28 ~ Selections ~ Select None ~ Apply your Drop Shadow

Click on your "Small Stars" Layer ~ Selections ~ Select All ~ Float ~ New Layer

Open KSIPaper 8 ~ Flood Fill your newly Selected layer with the Paper Pattern ~ Scale 40 ~ Selections ~ Select None ~ Adjust ~ Add/Remove Noise ~ Add Noise with my Settings Below

Locate and Open KSIFlower 7 ~ Copy ~ Paste ~ Resize 34% ~ Adjust ~ Sharpness ~ Unsharp Mask with the Following Settings

Radius - 2.00
Strength - 28
Clipping 4

Apply your Drop Shadow :)

Open KSIDog Tag - Home of the Brave and KSIDog Tag - Land of the Free ~ Copy both Dog Tags ~ Paste both Dog Tags and Resize each to 48% ~ Position on your Tag using Mine for Reference and Erase any Excess String ~ Apply a Drop Shadow to Each Dog Tag

Locate and Open KSIButton 1, KSIButton 2, KSIButton 3 and KSIButton 4 ~ Copy each button ~ Paste each Button and Resize to 40% and 34% Alternately ~ Position on your Tag using Mine for Reference ~ Apply a Drop Shadow to Each Button

Now for our Text!

Apply your Text and position as Desired ~ I used Marking Pen ~ Background Colour #0c0c0c ~ Foreground Colour #Null

Effects ~ Plugins ~ Eye Candy 4000 ~ Gradient Glow with the Following Settings

Glow Width - 3.00
Soft Corners - 0
Overall Opacity - 100
Draw Only Outside Selection - Checked
Colour - White

Duplicate your Text Layer Twice and Merge your Text Layers Together ~ Apply your Final Drop Shadow

Add any Required Copyrights to your Tag ~ Merger Visible ~ Save as a .jpeg or .png and you are Finished!

Huggers ~ Krissy :)

© Elias Chatzoudis ~ Krissy '10

Read more...

Sunday, June 20, 2010

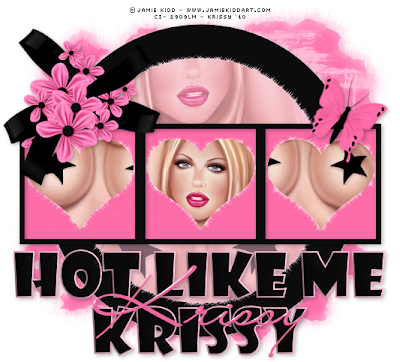
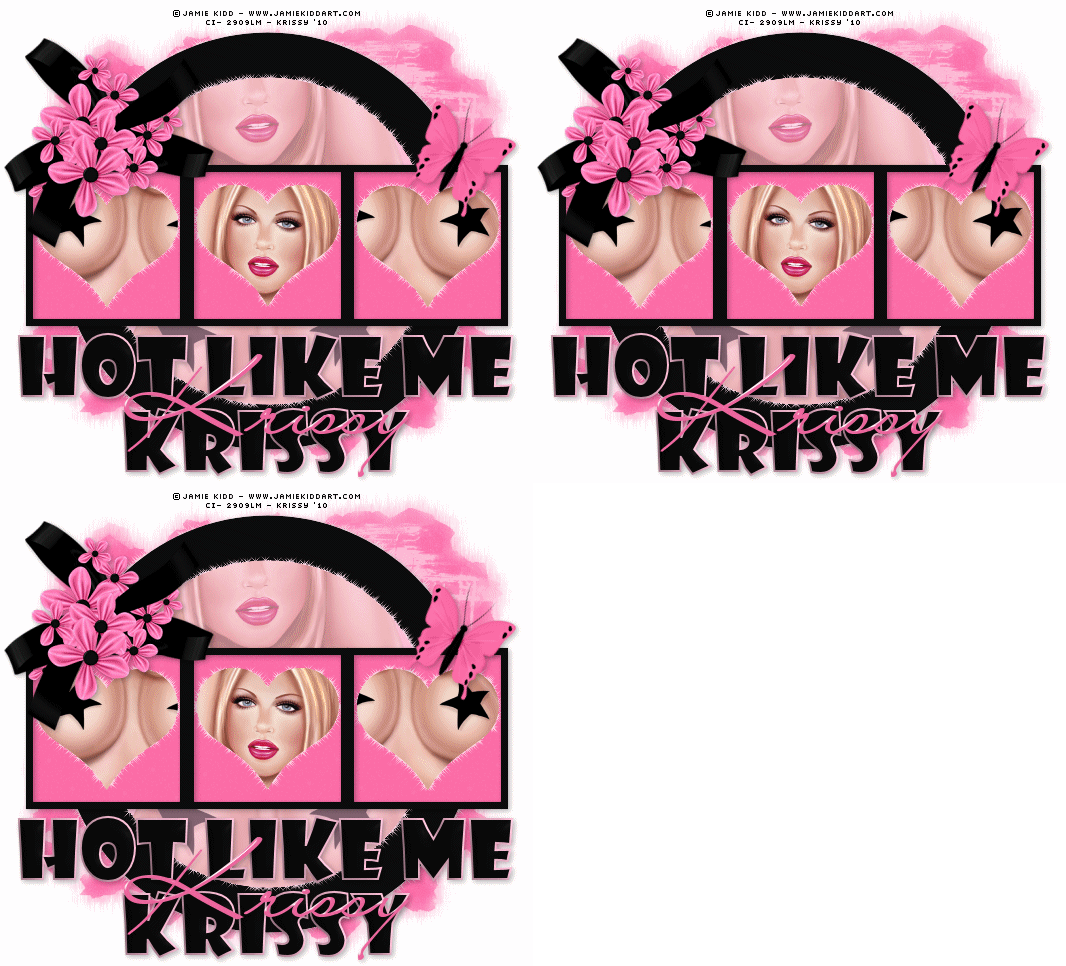
Hot Like Me

You can View the Animated Tag HERE

This Tutorial was Written by Me in it's Entirety on June 20, 2010 ~ Any Similarity to any other Tutorial is Purely Coincidental

Supplies Needed:

Tube of Choice ~ I am using the Gorgeous Artwork of Jamie Kidd

You can Purchase a License to use her Artwork HERE

Fonts of Choice ~ I am using "Showcard Gothic" and "Lainie Day SH"

Scrap Kit of Choice ~ I am using an Awesome PTU Scrap Kit from C.C.Creationz ~ *Cherry Blossom*

You can Purchase this Kit HERE

Eye Candy 4000 ~ Glass ~ Optional
Alien Skin Xenofex 2 ~ Optional
Animation Shop ~ Optional

Thanks to Chelle aka Weescotslass for Use of her Mask. You can find Weescotslass HERE

Tag Template #33 by Missy. You can find Missy and her Fabulous Tag Templates HERE

~~~~~~~~~~~~~~~~~~~~~~~~~~~~~~~~~~~~~~~~~~

Let's Get Started!!!

Open your Tag Template ~ missy_tagtemplate33 ~ Close off (X Out) all of the Original "Named" Layers & the Copyright Layer in your Layers Palette ~ Selections ~ Select All ~ New Layer

Locate and Open Paper 7 ~ Copy ~ Paste into Selection ~ Selections ~ Select None

Open Mask WSL_Mask222 ~ Layers ~ New Mask Layer from Image ~ In the Drop Down Window locate WSL_Mask222 ~ Source Luminance Checked ~ Click OK ~ Merge Group

Click on your "Large Circle" Layer ~ Selections ~ Select All ~ Float ~ New Layer

Locate and Open Paper 6 ~ Flood Fill your newly Selected layer with the Paper Pattern ~ Scale 68 ~ New Layer ~ Flood Fill with Colour #0c0c0c ~ Selections ~ Select None ~ Apply a Drop Shadow to your Dark Layer Only

V - 2
H - 2
Opacity - 28
Blur 8.00

Click on your "Smaller Circle" Layer (It's actually Labelled Small rectangle ~ LoL) ~ Selections ~ Select All ~ Float ~ New Layer

Locate and Open Paper 6 ~ Flood Fill your newly Selected layer with the Paper Pattern ~ Scale 68 ~ Selections ~ Select None

Open your Tube of Choice ~ Copy ~ Paste as a New Layer ~ Position using My Tag for Reference

Click on your "Smaller Circle" Layer Again ~ Selections ~ Select All ~ Float ~ Invert ~ Back up to Your Tube Layer ~ Hit Delete ~ Selections ~ Select None ~ Lower the Opacity of Your Tube Layer to 48 in Your Layers Palette

Click on your "Frame Background" Layer ~ Selections ~ Select All ~ Float ~ New Layer

Open Paper 7 ~ Flood Fill your newly Selected layer with the Paper Pattern ~ Scale 68 ~ Selections ~ Select None

Click on your "Hearts" Layer ~ Selections ~ Select All ~ Float ~ New Layer

Again Open Paper 6 ~ Flood Fill your newly Selected layer with the Paper Pattern ~ Scale 68 ~ Selections ~ Select None

Open your Tube of Choice Once More ~ Copy ~ Paste as a New Layer ~ Position over the Hearts using My Tag for Reference ~ I Duplicated Mine Twice and Positioned to My Liking ~ You may also need to Resize your Tube here ~ Play around with Positioning Until you are Satisfied :)

Click again on your "Hearts" Layer ~ Selections ~ Select All ~ Float ~ Invert ~ Back up to Your Tube Layer/s that You have Just Placed ~ Hit Delete on each Layer ~ Selections ~ Select None

Click on your "Frame" Layer ~ Selections ~ Select All ~ Float ~ New Layer ~ Flood Fill with Colour #0c0c0c ~ Selections ~ Select None ~ Apply your Drop Shadow

V - 2
H - 2
Opacity - 28
Blur 8.00

Locate and Open Flowers and Ribbons ~ Copy ~ Paste ~ Resize 68% ~ Position using My Tag for Reference ~ Apply your Drop Shadow of Choice

Locate and Open Buttefly 2 ~ Copy ~ Paste ~ Resize 28% ~ Image ~ Free Rotate ~ Right 28 ~ Position using My Tag for Reference ~ Sharpen if Required ~ Apply your Drop Shadow Again

Apply your Text and position as Desired ~ I used Showcard Gothic for the "Hot Like Me" Phrase and the Bottom Name Layer ~ Background Colour #0c0c0c ~ Foreground Pattern Paper 6 ~ Scale 68

For the Top Name Layer I used Lainie Day SH ~ Background Pattern Paper 7 ~ Scale 68 ~ Foreground Colour Null ~ Eye Candy 4000 - Glass Using my Settings Below

Apply your Drop Shadow once More

V - 2
H - 2
Opacity - 28
Blur 8.00

You can now choose to Stop here or Keep Going to add Your Animation!

Add any Required Copyrights to your Tag and Apply a Drop Shadow to your Text if Desired

~~~~~~~~~~~~~~~~~~~~~~~~~~~~~~~~~~~~~~~~~~

Here I will assume you have a General Working Knowledge of both Paint Shop Pro and Animation Shop

Now for our Animation Layers ~ Get Ready to Duplicate a Few Times ~ LoL

Select and Duplicate your Pale Pink "Large Circle" Layer Twice ~ Select and Duplicate your "Smaller Circle" Layer Twice ~ Select and Duplicate your "Hearts" Layer Twice

Close off (X Out) the Bottom Two "Large Circle" Layers ~ With the Top one still Selected ~ Effects ~ Plugins ~ Alien Skin Xenofex 2 ~ Constellation ~ Follow my Settings Below

Repeat this step for the remaining "Large Circle" Layers ~ Altering your Random Seed for each Layer by Simply clicking Random Seed in Constellation

Repeat the Above Constellation Steps for your "Smaller Circle" Layers and "Hearts" Layers Also

Open Animation Shop Now

Close Off your lower two "Large Circle" Layers ~ Lower two "Smaller Circle" Layers and Lower two "Hearts" Layers ~ Copy Merged ~ Paste as a new Animation

Close off the Top "Large Circle" Layer and Open the one Below ~ Close off the Top "Smaller Circle" Layer and Open the one Below ~ Close off the Top "Hearts" Layer and Open the one Below ~ Copy Merged again ~ Paste After Current Frame

Close off the Middle "Large Circle" Layer and Open the one Below ~ Close off the Middle "Smaller Circle" Layer and Open the one Below ~ Close off the Middle "Hearts" Layer and Open the one Below ~ Copy Merged again ~ Paste After Current Frame

File ~ Optimization Wizard and Click through to Finish ~ File ~ Save

Your Tag is Done ~ WooHoo!

Huggers ~ Krissy

© Jamie Kidd ~ Krissy '10

Read more...

  © Blogger template Customization - Installation and Graphics by Krissy's Scraps 2009

Back to TOP